How to Make a Homemade Sprinkler with PVC Pipe
Recently Jen showed me something on Pinterest that really got my attention. You see, its been very hot and dry for Indiana this past month, and we were looking for new ways to allow the boys to play outside in the water. I personally thought this idea for a homemade sprinkler made out of PVC pipe was brilliant!
This is a seriously EASY project that anyone can do in about 30 minutes once you get all the supplies. Don’t let the “plumbing” scare you ladies, you can handle it and impress your friends!
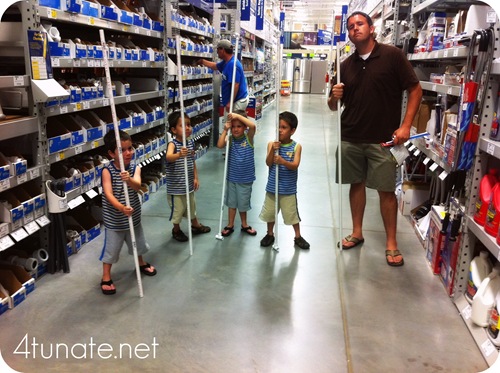
First, we headed for our local home improvement store for supplies.
The boys and I feeling manly in the plumbing isle.
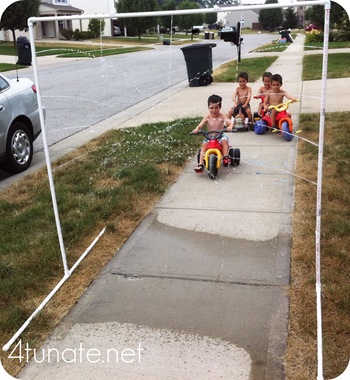
To replicate our “car wash” sprinkler system, follow the instructions below.
Supplies Needed for a PVC Sprinkler:
- (5) 5 foot sections of 1/2 inch PVC (You could also purchase the longer ones and cut them down saving some money, but they had these pre-cut to 5’ for less than $2)
- (3) 1/2 inch PVC pipe caps
- (2) 1/2 inch PVC elbows
- (2) 1/2 inch PVC Tees
- (1) 1/2 inch Male Adaptor
- (1) Threaded Female Hose Connection (I had to use Brass, didn’t have this in PVC)
- PVC Solvent (This is the glue for the joints.)
Tools Needed for a PVC Sprinkler:
- Hack Saw
- Power Drill
- 3/16” Drill bit (could be slightly larger or smaller, your preference)
- Helping hands of your children
Assembly Instructions:
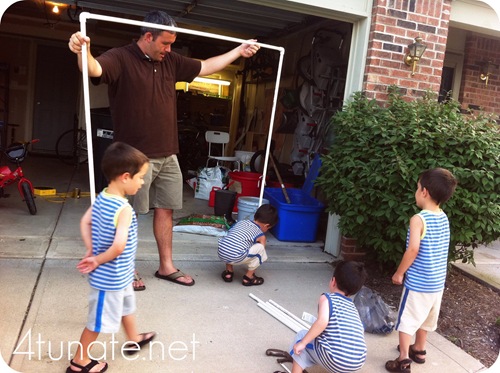
- Cut two of your 5 foot PVC pipes in half, leaving you with (4) 30 inch pipes.
- Dry assemble the pieces to make sure everything fits.
- Pull one joint apart at a time, apply solvent to the end of the pipe and the inside of the joint, press into slip fitting. (make sure you push it all the way in, you have just a few seconds with PVC cement) TIP: If you want to be able to store your new “car wash”, do not cement the vertical pipes into the Tee-joints. Then, you can take the feet off or turn them sideways to store flat against your garage wall.
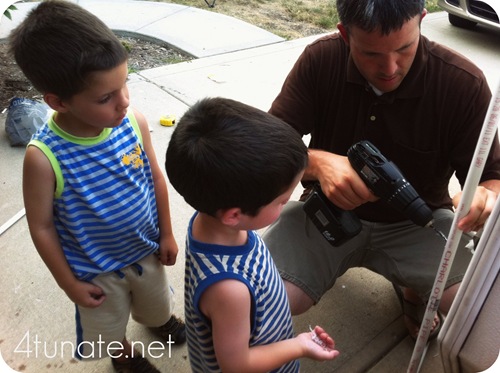
- Once assembled and cemented together, drill holes along top and sides as desired. (You can drill as many as you like, but I would start with 3 along the bottom side of the top pipe, and 3 on each vertical pipe. If you drill too many holes, there will not be enough water pressure to spray far enough to do the trick. This will depend on your house water pressure. Smaller drill bits like 1/16” will help also if you have low water pressure.)
- Allow cement to dry for 15-30 minutes.
- Hook up the hose and get wet!
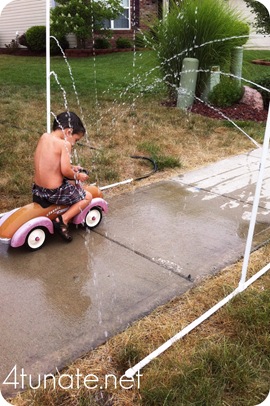
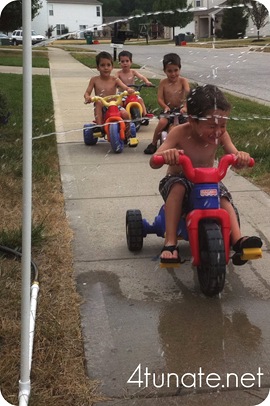
We were able to straddle the sidewalk with our new sprinkler and allow the boys to ride their bikes through. They had such a blast while we laughed at their funny expressions as they burst through the spray.
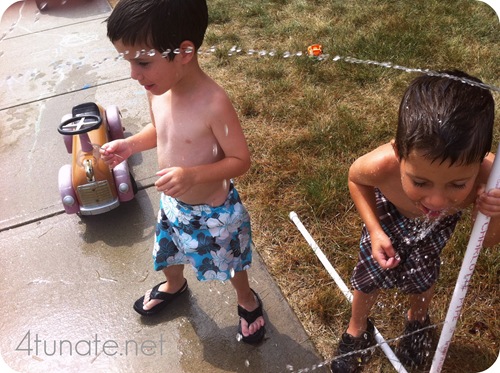
Brooks even decided to drink from the new contraption, which happens to be ok since this is the same pipe they use in your home for water supply.
I love simple projects like this because it allows me to work with the boys and give them some sense of accomplishment in the process. Feel free to get creative and fit the pipes into another shape or form. The possibilities are endless!
Brad
This post is being linked up at Young House Love’s Pinterest Challenge, Get Your Craft On at Today’s Creative Blog, Home Stories A to Z Tutorials and Tips, The Shabby Creek Cottage, and Tatertots and Jello’s Weekend Wrap Up

